
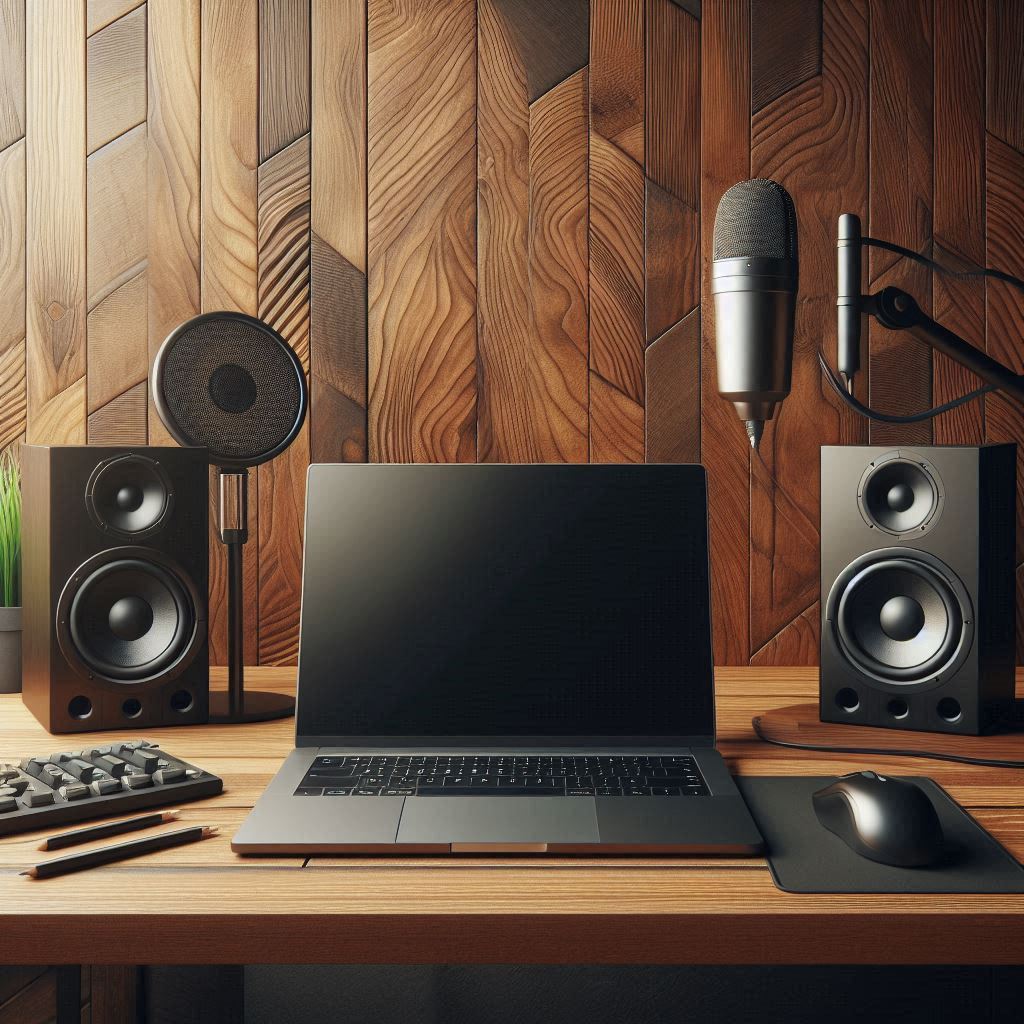
Audio Components of a Laptop
Table of Contents
Introduction
The earlier computers used to come with a speaker that could just emit a beep sound. Now we have computers that can give us very high quality experience whether it be music we are playing or the sound effects of your Game of Thrones. When we consider any computer that plays music for us, there are certain components that are associated with the recording and playback. Given below is a description of these components and their function.
Components of Computer Audio
Source
First we have a source of the music signal. It may be a CD/DVD Player, a Radio Tuner, a hard disk or USB flash driver where the music is stored. The source can also be an online application sending us the audio signals like Spotify or Audible. In case of MP3 or other formats, we have a decoder that converts these files to audio signals. In today’s multi-faceted, multi device technology, we have several means of receiving an audio signals and such a means is defined as a source.
Sound Card
The function of converting digitally stored music into analog signals for the speaker to play, as well as the function to store analog signals received though the microphone or a Line-in, is performed by the Sound Card (also called Audio Card). The sound card uses the Digital-to-Analog Convertor (DAC) to convert digital audio signals to analog audio signals and the Analog-to-Digital Convertor (ADC) to convert analog signals to digital signals.
Analog signals are continuous signals which represent physical signals and are represented by a sine-wave. eg., Human voice, or mercury thermometer. Digital signals are time signals indicating digital modulation and are represented by a square wave. Eg., MP3 files, or Music stored in CDs and USB drives.

FIGURE 1
In the earlier computers, the sound card used to come separately and was fixed to the mother board using a PCI card slot. Nowadays all mother broard come with an inbuilt sound card. The technologies have improved over the years to being mono to stereo to 5.1 and 7.1 or evn 3D music output. Output of inbuilt sound cards are limited and we now have special sound cards that can be plugged into the motherboard to enhance the quality of music.
Drivers
As necessary for all other hardware components of a computer, the sound cards also require a driver specific to their design. A driver is a hardware specific group of files that permit the hardware device to communicate with the operating system and give outputs based on the inputs received. It is important to have the correct driver installed on your computer for the specific audio hardware on the computer. Without having the correct driver, the audio in your computer may not work at all or work with poor quality.
Receiver
The music signal that we receive from the source is sent to what is called an amplifier circuit. The amplifiers are also called receivers and they have various circuits for pre amplification, amplification and improving the quality of the received signal.
Speakers
The output from the amplifier/receiver is sent to the speakers that convert the electrical signal received to sound waves which we can hear and enjoy. The speakers may be internal to the computer, meaning built into the deice intself, ike speakers in a laptop or they can be external speakers or even headphones, earphones etc. All external speakers are connected to the computer audio output port/speaker port.
Microphone/Line-in
Often for recording audio, we can use the internal mic of a computer or attach a separate microphone to the microphone jack of the computer. We may also give audio signals to the computer, form a external device like a external CD player, using Line-in port. Nowadays, laptops come with a single jack that can perform the roles of Line-in, mic-in or speaker =out.
The audio in your computer also works in a similar manner. You may be having a source, like from a youtube video or some music files stored on our laptop. When you play them, the audio is amplified and sent to your system speakers or any other speakers that may have been connected to your system.
How to check Audio
Start Here 🙂
A sure and no brainer way to check your audio is to select a music file on your computer and play it. Another simple way is to go to onlinemictest.com where in you can test your microphone and speakers. In case your Audio is not working, given below are the steps you can take to fix the problem step by step.
Muted Speakers or Low Volume
The first and obvious thing to do in any sound device is to turn up your volume just in case it is set too low. If your speakers are muted, unmute them. To do this click on the speaker icon at the bottom right of your task bar. A slide-up window opens. Click on the speaker icon to unmute it, if it is muted. Increase the volume and you must also hear a bell sound when you increase or reduce the volume, if your system sounds are on.
(If the Windows Default sounds are off, Right Click the speaker icon. Click sounds. In the Sounds Tab, set sound scheme as Windows Default and Apply. OK)
Source Output Muted or Low Volume
You could be playing your music using an audio player (like Windows Media Player) or using a Video Player (like VLC Player) streaming a Video on YouTube. Each of these players have audio controls, which need to be checked if they are muted or the volume is set too low. If you are using an external playback device like a CD Player, we may need to check the volume levels there too. The bottom line being, make sure there is an output from your source.
Playback Device
Having verified the source and inputs, let us proceed to check the sound output devices which are the speakers. In a computer we have both internal speakers as well as an option to connect external speakers. Internal are built-in to the computer/laptop. External ones are connected using the audio output of the system (3.5 mm Jack) or through the HDMI port. We could also hae devices connected using blue-tooth or wireless technologies. They can be simple earphones/ headphones, desktop multi-media speakers, or a TV connected using an HDMI port or even a 5.1 channel audio system.
Whatever be the playback devices, we need to ensure they are properly connected and the wires/cables are in a serviceable condition. Check for loose connections and faulty cables.
If the devices are using blue-tooth or WI-FI make sure they are correctly paired.
Once that is done and you still do not have the playback, you will need to verify if the correct sound device is selected.
Click on the speaker icon at the bottom right of the task bar. On the slide up window, on top of the volume slider, you will see the output devices. Click on the arrow to the right and you will see all the devices that are connected. Select the one you want to use and you must be able to hear the playback on the selected device. You may also check the other playback options here.
You can also access open the Control Panel. Select Sound and select the Playback Tab. Right Click the device you want to use and at the bottom set it as default.
Alternatively, right-click the speaker icon in the Windows taskbar, Click Sounds to open the Sound Controller Window. Click Playback Tab. Right Click the device you want to use and at the bottom set it as default.
Troubleshoot
At this stage, if the Audio is still not working, right click the speaker icon and click the troubleshoot option. A window will open and by selecting the Yes option to check your system, windows may be able to set the problem right. Just follow the prompts as per your specific problem.
Audio Enhancements
Right-click the speaker icon in the Windows taskbar, Click Sounds to open the Sound Controller. Window. (You can also open the Control Panel. Select Sound)
Open Playback Tab. Click the device you want to use and at the bottom click on properties.
The speaker properties window will open and here you can enable disable enhancement, or turn on/off spatial sound or even change the format till you get the desired output.
Check the Drivers
Open the Device Manager. In the window click arrow to the left of ‘sound, video and game controllers’ line. Right click on the ‘High Definition Audio Device’ and click properties. The General Tab must say ‘This device is working properly’ Sometimes, it may show an error. In both cases, Click on the Driver Tab and then on update driver option.
If you are online, select chose Select Automatically for Updated Driver Software. Windows will update the driver or intimate that the driver is up to date.
If you are not online, On the window that opens, Choose the Browse my computer for the driver software option and then Let me pick from the list of device driver on my computer You will be able to see one or more drivers list. Select high-definition audio and then click Next and let windows update the driver. Restart your computer.
In all probability your problem will be solved by now.
Next Option
Else the next option is to right click the ‘High Definition Audio Device’ in the control panel as described above and then choose Uninstall Device Option. This is a final option of the options above do not work.
After Uninstalling, reboot your computer which will automatically install drivers for your device.
If this does not work too, the other way is to download the drivers from the manufacturer’s site.
To do this find out the model of your computer/laptop/motherboard by typing msinfo32 in the search box. In the window that opens, look for the system model.
Copy the system model and search for download (Model Name) audio driver. Go to the manufacturers site. Navigate to the driver’s tab and select the audio driver. Download it. Most driver are Exe files and tey can be installed directly by double clicking them or running them.
BIOS Problem
If in case Windows is not able to show any audion device in the device manager under the ‘sound, video and game controllers’ or it is showing a Yellow Triangle it means the Operating System is unable to detect the audio interface, or the device is faulty, there is no installed Audio Device and finally the Audio device has been disabled in the BIOS by someone messing with the system. Enter the BIOS settings by restarting your PC To fix it at the BIOS level, you’ll need to restart your PC and while the computer is restarting, keep pressing the BIOS key (May vary as per your model. Generally Delete/F2/F12) Enetr the BIOS settings. Look for for onboard devices or onboard audio options. Make sure they are turned ON. Save and exit. Restart your computer. This should enable your audio.
Faulty Hardware
If the above steps have not been able to solve your audio problem, then there could be a defect in the components, speakers, cables or the playback devices. You may need to seek help form the manufacturer or a nearby service center,
How to Check Your Microphone
There are two types of Microphones. One is the internal one that comes in the Laptop and an external Microphones that are connected to the computer using a 3.5 mm jack.
There are several types of these external microphones depending on the Type of Jack in the computer and the design of the headsets.
- The first has 3 separate 3.5 mm jacks, one for Line-in, one for the speakers and finally one for the Microphone. There are others with 2 Jacks, one red and one green for microphone and speakers respectively.
(If you have these type of Microphones and your computer has only one 3.5 mm port, you may need to get a convertor jack that converts double 3.5 mm to a single 3.5 mm outlet.)
- The next has only one Jack which is connected to a Two-in-one Microphone and speaker combination head phones using one 3.5 mm Jack.
- In the newer versions we have USB Headphones with a microphone.
- Lastly, we have Bluetooth Headphones with a microphone.
We can test each of these by using a simple windows microphone test.
Type Sound Settings in the search bar. Scroll down to the INPUT section. First select the correct input device (microphone) you are using. There we see a ‘Test Your Microphone’ option. All we need to do is talk into the system, or the microphone and it would show the bar moving up to the right indicating that our microphone is working.
In case it is not working, we can click on the troubleshoot tab option given under the ‘Test your Microphone’ caption and the Operating System will try and fix the problem. Just follow the instructions of the windows trouble shooter.
In case this does not fix your problem yet, click on the Device Properties given above the ‘Test your Microphone’ caption. Here you can start the test. Make sure the disable box is unchecked. Next click on the, Additional Device Properties option at the right top of the screen. A window opens with the Microphone Properties. Check the following.
- In the General Tab see that the microphone is not disabled.
- In the Listen Tab see that you have selected the correct playback device.
- Levels Tab make sure they are set to the minimum.
- In the enhancements tab, if your mic is not working, disable all sound effects and check your microphone.
- In the Advanced tab, try any other formats which may work.
Another way to check the Microphone is to use onlinemictest.com. Here you can select tools on the left and then Microphone test. Make sure you click allow to the small window that opens on the browser to permit onlinemictest.com to access your microphone.
Trouble Shooting Microphone not working
Follow these steps to trouble shoot your microphone if it does not work still after the brief testing procedure given above.
Click Start> Settings>Privacy Options>Microphone
- Make sure ‘Microphone Access to this Device Is ON.
- Make sure allow apps to access your device is ON. Below you can select or deselect particular apps as per your choice.
- Make sure allow desktop apps to access your device is ON. Below you can select or deselect particular apps as per your choice.
Next solution is to type ‘Microphone Setup’ in you search bar and open the Microphone setup dialog box. Here in the center pane you will find a heading as Microphone, below which you will find a tab Get Started. Click it, select Cortana can’t hear me and the wizard will try and fix any problem that may be there.
Enable the microphone
Open Control Panel by typing control panel in the search bar and clicking on control panel.
Click on Sound.
In the ‘Sound’ dialog box that opens, select the recording tab.
You will see a list of microphones. Right click each and see they are all enabled. (If a device is enabled, you will see Disable. If you see an enable option, that means the device is disabled and then you must proceed to click enable to enable it)
Test the Microphone, if it does not work still, right click the microphone, select the properties, click on the advance tab and ensure ‘Allow applications to take exclusive control of this device’ and “Give exclusive mode applications priority” boxes are unchecked.
Check the Drivers
Type Device Manger in the start box. Open the Device Manager. In the window click arrow to the left of ‘Audio Inputs and Outputs’ line. Right click on the ‘Microphone’ and click properties. The General Tab must say ‘This device is working properly’ Sometimes, it may show an error. In both cases, Click on the Driver Tab and then on update driver option.
If you are online, select chose Select Automatically for Updated Driver Software. Windows will update the driver or intimate that the driver is up to date.
If you are not online, On the window that opens, Choose the Browse my computer for the driver software option and then Let me pick from the list of device driver on my computer You will be able to see one or more drivers list. Select Microphone and then click Next and let windows update the driver. Restart your computer.
In all probability your problem will be solved by now.
Else the next option is to right click the ‘Microphone’ in the control panel as described above and then choose Uninstall Device Option. This is a final option of the options above do not work.
After Uninstalling, reboot your computer which will automatically install drivers for your device.
Troubleshooting your Bluetooth Microphone
A computer and Bluetooth device that have been paired will get connected automatically when switched on. If they do not get connected for some reason
- If no audio comes out of the headset. Click on the speaker icon and by clicking the little arrow, select the correct Bluetooth speaker.
- Go to Control Panel. Select view by small icons on the right. Click on Sound. In the recording devices tab, find your headset. Reset the connection (Right-click>Disconnect. Right-click-Reconnect). This may fix the problem. You can also try to disable and then enable the device, if the problem persisits.
- Try removing the device and pairing it again. (Go to Settings > Devices > Bluetooth & other devices. Click on the Device and click Remove Device below). Now pair the device again.
- Check the audio drivers as discussed above.
Windows Update. Sometimes there will be a need to do a windows update for all your devices to work well. If your OS is not updated, update it as try to fix the problems as discussed above.
Conclusion
So that wraps it up. Checking your laptop’s audio, whether it’s the speakers, mic, or output jacks, doesn’t need to be complicated. A few simple steps—like running a sound test, making sure the volume isn’t muted, checking the playback and recording devices, and updating drivers—can help fix most common problems. Sometimes it’s just a loose headphone jack or the wrong default device selected in settings. Other times, it might be a deeper issue with hardware or the sound card, but at least with these checks, you’ll know what’s working and what’s not.
It’s also worth remembering that a mic test isn’t just about seeing bars move—it’s about confirming your voice is clear, not muffled or full of static. And testing with apps like Zoom or Google Meet gives you real-world confirmation that things will work when it matters. These steps don’t just solve problems—they give you peace of mind. Whether you’re recording, attending a call, or just watching a movie, clear audio makes a big difference, and now you know how to make sure it’s working as it should.


