Laptop Components
Table of Contents
Components List
- Optical Drive
- Keyboard
- Touch Pad and Buttons
- USB Ports
- HDMI Port
- Mouse
Optical Drive CD/DVD Drive
Checking your system for Optical drive.
- Open the File Explorer in Windows (Windows Key+ E).
- Go to the ‘Computer’ or ‘This PC’ tab on the left pane.
- Here, you will be able to see the Optical drive listed along with the other drives of the computer.
- You will be able to make out what type of drive is installed on your system from the name.
- You may have CD-R or DVD-RW or BD etc., written there.
- Right-click the drive and select properties.
- We will get to see the Type and model of the Optical drive.
- You can google the name of the model to know more specifications of the optical drive.
Another way is to open the device manager. (Type Device Manager in the Search box. Alternatively, Open Control Panel and select Device Manager). In the device manager, click on the arrow next to DVD/CD ROM Drives. You will see the details of the optical drive installed on your computer. Carefully copy this number and google it. You will see the details about the drive, whether it is Blueray, DVD or CD.
The letters in the name of the drive indicate what type of drive it is as explained below.
Type of Optical Drives
CD-ROM (Compact Disc – Read-Only Memory Drive) This is an old type of drive, that can read compact disks that can store data, audio, or software content. They can also read CD-RW discs. Each CD can hold a maximum of 700 MB of data.
DVD-ROM (Digital Versatile Disk-Read Only Memory Drive) These are dries that can read DVDs that are an improvement over the CD. They can hold more data and have a better quality of storing and retrieving data. Video files can also be stored on these DVDs. These dries can read CDs and DVDs.
BD (Blue Ray Drive)Blue Ray drives came to the market to improve on the DVD. DVDs could not hold High Definition videos. Blu-ray discs are designed to be strong, hold more data (from 25 GB to 100 GB), and provide a more safe method to store large amounts of data for longer periods.They are called blue-ray as the laser beam they use in blue compared to the yellow in the DVD drives.
CD-RW (Compact Disc Read Write) These are drives that can both read data on a CD as well as write on a writable CD.
DVD-RW (Digital Versatile Disk-Write) Similar to a CD-RW, these drives can both read and write on CDs and DVDs.
You will also come across drives labeled DVD + RW or DVD-/+ RW. These in comparison to DVD-RW are a little different. While the DVD-RW design and protocol are controlled by an organisation called DVD Forum, the DVD + RW is developed and standardised by DVD+RW Alliance.DVD+RW is an improvement over DVD–RW both in speed and quality of recording/reproduction.
Most Drives nowadays are DVD RW and can read/write on both + and – versions. You may also come across the letters DL meaning double layer, by this technology, the amount of data stored is doubled due to two layers.
Functioning
Once you have identified the type of optical drive you have on your computer, the next obvious thing is to open the drive, slip in a disc and check if it can both read and write.
Nero Info Tool
You can also download this small tool of 2 MB to find out more accurate information about your optical drive. ( CD/DVD/HD-DVD/Blu-Ray player) and what the drive is capable of reading and writing.
How to Check the Keyboard
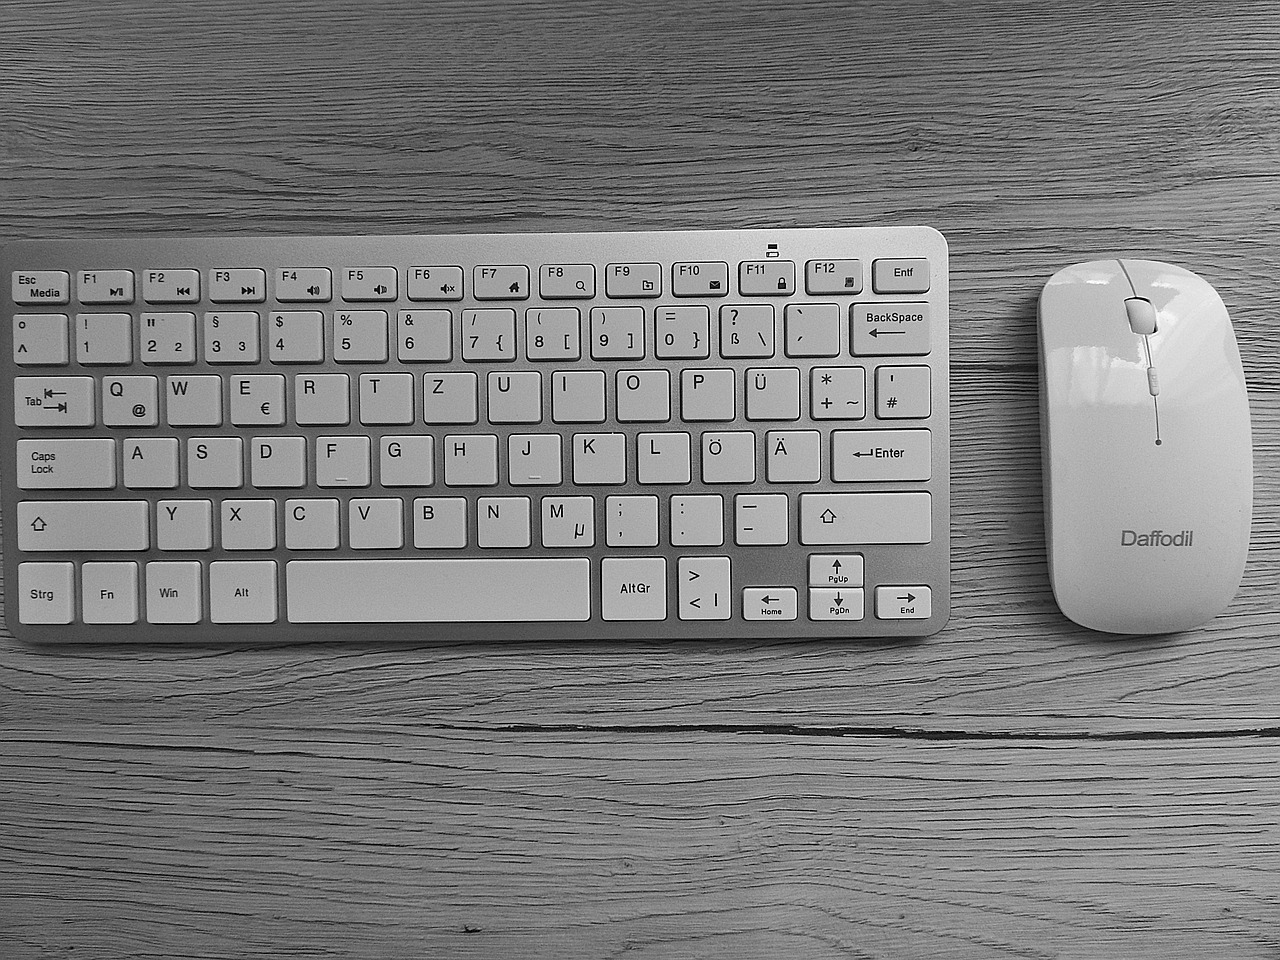
Run your fingers on all the keys of the laptop. The feel and bounce of the keys must be consistent. Make sure none of them are dislodged from their position. Make sure all the keys are functional by seeing the results on the screen by using a notepad or this is a good place to check your Keyboard keys functionality. https://keytest.ru/en/
You must not have any sticking keys, broken keys, not functioning keys, Keys that make a sound when you click them, or any key that does not bounce back. Enter, Space, Shift, Zero and other keys that are most used must be checked carefully. Check the number keys and the arrow keys too. If you have a backlit keyboard, make sure it is functioning well. Sometimes, in old laptops, the text on the keys may be erased, which may result in problems while using the keyboard. Check for such anomalies and make sure all are working well.
Keyboards problems come due to three reasons;-
- Physically Broken Damaged Keys
- Driver or Operating system needs an update.
- The keyboard needs a replacement.
In all cases, replacing or repairing a keyboard is not an expensive proposition and can be troubleshot at home too by watching some DIY videos.
Checking Touchpad and Buttons
The touchpad is a very important part of the laptop. Before checking the touchpad, ensure that a driver is installed for the touchpad. Go to device manager (Type Device Manager in the Search box. Alternatively, Open Control Panel and select Device Manager). In the device manager, click on the arrow next to Mice and other pointing devices. Here you must be able to see a driver installed for the touchpad (ELAN, Synaptic Etc.,). In case the same is not installed, your experience with the touchpad will be very bad. Get a driver installed to verify the functioning of the touchpad further.
Check the functioning of the touchpad, that the cursor movement is smooth all over the touchpad. If need be you can adjust the settings of the touchpad to suit your style. Check the Scroll function and the zoom function. They must be working well. See that the Click function works well and is not too hard or too soft. Check for the functionality of the left-click and right-click buttons. Make sure they are working fine and do not make too much noise. They must also have the elasticity to revert to their position after the click and not get stuck.
You can adjust the settings of your touchpad by typing “touchpad” in the searchbar. On the window that opens, you can select additional settings (right side and adjust the mouse and touchpad settings to your desire.
How to Check the USB Ports
Open the device manager. (Type Device Manager in the Search box. Alternatively, Open Control Panel and select Device Manager). In the device manager, click on the arrow next to Universal Serial Bus controllers. You will see the details of the USB ports on your computer. Names of the ports indicate the type of USB port on your computer.
- Universal Host means it is a USB 1.1 Version port.
- Universal Host alongwith Enhanced Host or USB 2.0 indicates USB 2.0 port.
- If USB 3.0 is written, we have a 3.0 version port.
USB Port data transfer Rates
- USB 1.0 introduced in 1995 and has transfer speed upto 1.5 Mbps
- 1.1 introduced in 1995 and has transfer speed upto 12 Mbps
- 2.0 introduced in 2000 and has transfer speed upto 480 Mbps
- 3.0 introduced in 2008 and has transfer speed upto 4.8 Gbps
- 3.1 introduced in 2013 and has transfer speed upto 10 Gbps
As can be seen above, there is a significant improvement in the data transfer rates as we go to the newer versions of USB ports. A laptop may come with a mix of two types of ports t0o, in which case, we use the slower ports for connrcting devices like mice or printers and the faster ports for data transfer need.
The amount of Power a USB can give out also differes from generation to generation. USB 1.0 and 2.0 can deliver power up to 500 mA whereas USB 3.0 can deleiver power up to 900 mA.
To check if each port is working correctly, right click on the device listed and click properties, You must see a window open saying This Device is Working properly. In case it is not, you can update the driver and it will start working, if not defective.
The sure fire way to check the Y+USB ports is to insert a Pen rive into each of them and see if they detect the same and your are able to access the data on the pen drive.
USB C
A new kid on the block is the USB C Type which is a very small port that is coming on many Mobile phones as well as some thin form factor laptops, The advantage of this USB type C port is nit just that it is small, but the pn is symmetric, meanng you can reverse and plug it in unlike the normal USB drives. The Type C also ermits straemimg of HDMI content without the ned for a HDMI connection.
HDMI (High-Definition Multimedia Interface)
An Overview of HDMI Ports
A consortium of electronics manufacturing countries formed the HDMI Forum, to lay down the standards for transmitting Digital Video and Audion signals together from a source to a display device. As a result HDMI 1.0 was born in 2002 which went through sevral revisions and stabilized at Version 1.4b. By about 2008, most gadgets be it conputersm, displays, TV;s started incorpaorating HDMI ports.
Imporovts in HDMI specifications continued and the current version is 2.1. Although the ersions have changed over the years, they still ratian the 19 Pin connector ans the protocolas are bachward compatible.
While HDMI 1.4b provided for full HD enabling 3D 1080p video at 120 Hz HDMI 2.1 can support a resolution of 10k at 120 Hz.
HDMI connectors come in three sizes: standard, mini and micro. Though the size of the Port varies, they pin configuration of 19 pins is standard in all the HDMI port sizes.
Type A is what is ound in most laptops and TV screens and is most widely used. Type B is of very high specifictcations and is seldom used. Type C and D are found in smaller devises like tablets, mobile phones, camera and small form factor laptops.
Does my Computer have an HDMI port?
The answere to this question is probabily yes if your computer hasbenn manufactured in the recent years. However there ae two ways to check the same:-
- Physical Inspection. The HDMI port looks larger that a USB port and is shaped like a rectangle with two sharp corners and two rounded coreners. You can see the image belpow to identify the HMDI port. If such a port is there on the computer, you can be certain you have an HDMI port.
- The other way is the check the specifications of your computer from the manufacturers site by searching for the same in google.
To find out which model your computer is do the following:-
Windows 10
Type msinfo32 in the Search box in the task bar.
Windows 8.1
On the Start screen, just type msinfo32.
Windows 7
Click Start and then type msinfo32 in the Search box.
You would then see a lot of information on the screen like Operating System, etc.,. Check the the System Model. Copy the System Model and google for its specifications. In the specification, under the ports tab, you will know whether a HDMI port is present or not. The specification may also indicate the version of the HDMI port.
How to know what Type of HDMI port I have?
There is not direct way to do this. But the best thumb rule to go by is that version 2.1 ws realeased in 2017, so we will find this version in Intel processors after te 10the generation as well in AMD Ryzen Series APU’s released after 2018.
How to test my HDMI Port?
There is just one way to do this and that is to connect the HDMI port to a TV or a Motor with and HDMI port. To do this, you will need to use a suitable HDMI cable.
After connecting te same, press Window Key + P and select one of the options to project the video onto the the TV or Screen. It mst work well.
In case it does not work, theerre are a few reasons that you need to check as listed below:-
- Loose connection. Bad Cable. Change the cable or check that there is not loose connection and try again. If there is any dust or foreingn objects in the ports or the cable head, try cleaning them and resinsert for checking.
- Trouble Shooter. Open windows trouble shooter by typing CMD, when the CMD prompt opens, right click it and select run as administrator. On the window type msdt.exe -id DeviceDiagnostic. This will open a new window and windows will check if any driver is missing, Just follow the screen options.
- Update Graphics Driver. Open the device manager. (Type Device Manager in the Search box. Alternatively, Open Control Panel and select Device Manager). In the device manager, click on the arrow next to Display Adapters. You will see the details of the Graphics Adpater or of the HDMI port installed. Right click it and choose Update Driver and choose search automatically for drivers option. This will update your driver.
- Set HDMI as default speaker. Open settings, select Sound, on the right pane click sound control panel. Here in this window see if the correct device is selected as default for audio.
If none of these fixes work, then may be it is time to seek some technical help.
How to Check the Mouse?
Testing a Mouse is pretty simple.
- Moe the mouse around on the pad/surface and you must see the cursor move around.
- Open a browser and close the window using th left click button.
- Use the right click on a blank screen to see it functioning,
- Use the scroll button both by clicking it and scrolling it.
All the above functions must work well.
There is also an online mouse test which you can take HERE.
Trouble shooting
- Try the mouse on another browser.
- Try the mouse using another USB port.
- Try the mouse on another computer.
If the mouse does not work, it may need a replacement.
Often, with remote mice, the battery may need a replacement. Try taking out the dongle for the remote mouse and fixing it again. This may solve the problem.
Conclusion
So, that’s how you can check all the important components of your laptop one by one. From hardware like RAM, hard drive, and battery to display, keyboard, and ports—it’s all about making sure everything is working as it should. These checks come in handy whether you’re troubleshooting an issue, buying a second-hand laptop, or just keeping your system in good shape. It doesn’t take much time, and a quick routine check can save you from bigger problems later.


